Anthony Ofori | Medical Graduate in General Medicine | Founder, WellNest Central
Last updated: October 11, 2026
This article provides general health education for adults and does not replace individual medical advice.
You sit down, wrap the cuff around your arm, and press start. The reading is higher than expected. Before assuming your blood pressure has suddenly worsened, it is worth checking something surprisingly easy to overlook: whether the cuff fits your arm.
A blood pressure cuff that is too small can produce an artificially high reading. One that is too large can underestimate it. However, you cannot tell how much of a particular result is caused by the cuff, and you should never dismiss a concerning reading on that assumption.
This guide explains how to check cuff size, what the research found, and how to bring more useful information to your next appointment.
Can a blood pressure cuff that is too small raise the reading?
Yes. A cuff must match the circumference of your upper arm for the monitor to measure reliably. Being able to fasten the fabric is not enough: the inflatable part inside also needs to be appropriate for the arm it surrounds.
In the Cuff(SZ) randomized crossover trial, researchers tested 195 adults using different cuff sizes with an automated device. A regular cuff overestimated systolic pressure by an average of 4.8 mm Hg in participants who needed a large cuff and 19.5 mm Hg in those who needed an extra-large cuff. In people who needed a small cuff, the regular cuff underestimated systolic pressure by 3.6 mm Hg on average.
These are group averages from one study, not a formula for correcting your own numbers. You cannot subtract five or twenty points and assume the new result is accurate. The practical response is to repeat measurements with suitable equipment.
WellNest Central support
Build practical habits for better health
Explore educational support for nutrition, movement, sleep, and everyday health routines.
How to check your cuff size
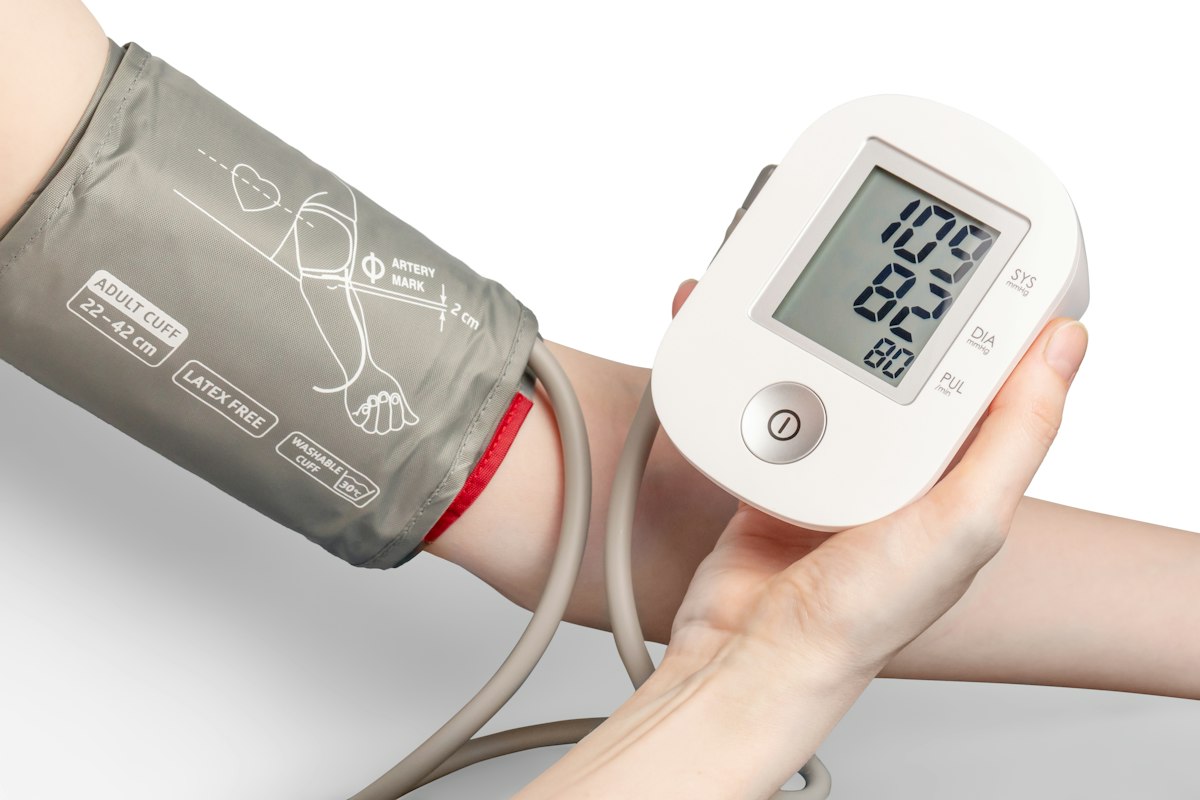
Start with the instructions for your monitor. Look for an arm-circumference range printed on the cuff, in the manual, or on the packaging. The number range is more useful than a label such as “standard” or “large,” because manufacturers do not all use identical sizing.
Measure your upper arm
Use a flexible measuring tape around the middle of your bare upper arm, roughly halfway between your shoulder and elbow. Keep the arm relaxed and the tape level. It should touch the skin without digging into it. If positioning the tape is awkward, ask someone to help or have your arm measured at a pharmacy or clinic.
Write down the measurement and compare it with the range for your specific cuff. For example, an arm measuring 36 cm falls outside a cuff marked 22–32 cm, even if you can pull the fastening shut. This is an illustration of how to read a range, not a universal cuff-sizing chart.
Check compatibility before replacing anything
A replacement cuff should be approved for your monitor model. A connector that appears to fit does not establish that the monitor has been tested with that cuff. Ask the manufacturer or pharmacist if you are unsure.
If you share a monitor with someone else, check each person’s arm separately. You may need different compatible cuffs. Recheck fit after a substantial change in arm size rather than assuming the original cuff will always remain suitable.
Choose a monitor that has been tested for accuracy
The American Heart Association’s home-monitoring guidance recommends a validated automatic upper-arm monitor and a correctly sized cuff. Ask a healthcare professional or pharmacist to help identify a suitable model.
“Validated” refers to testing against an accepted accuracy standard. A polished app, a large display, or hundreds of customer reviews does not answer that question. Check the exact model rather than relying only on the brand name.
If your arm shape or size makes a standard upper-arm cuff difficult to fit, ask for individual advice. Improvising the cuff position or switching devices without checking technique can introduce another source of error.
Correct size is only one part of a reliable reading
Your position and preparation matter too. MedlinePlus explains the blood-pressure measurement procedure, including resting beforehand and supporting your arm.
- Avoid caffeine, tobacco, and exercise for at least 30 minutes before a planned check.
- Empty your bladder, then sit quietly for at least five minutes.
- Keep your back supported, feet flat, and legs uncrossed.
- Place the cuff on bare skin and support the arm at heart level.
- Follow the cuff’s positioning marks and your monitor’s instructions.
- Stay quiet and still while it measures.
Take two readings about one minute apart and keep both. Agree on a monitoring schedule with your clinician rather than checking repeatedly until you obtain a number you prefer.
If the first result is often higher, our article on why the first blood pressure reading can exceed the second explains that pattern in more detail.
What to do if you discover your cuff was too small
Keep your previous records, but add a note explaining when you identified the sizing problem. Once you have the correct cuff, start a clearly labeled set of readings using consistent technique.
Bring the monitor, cuff, and log to your next appointment. Ask someone to watch you take a measurement. That can reveal a fit or positioning problem that is difficult to notice from the numbers alone.
Useful questions include: “Does this cuff cover my arm measurement?” “Is this model suitable for me?” and “How many days of readings would you like before we review the results?”
Do not change or stop prescribed treatment because you suspect a cuff problem. Your clinician can interpret the new measurements alongside your medical history. Differences between home and office readings also deserve review; see our guide to high blood pressure at home but normal readings at the doctor.
When a high reading needs urgent attention
If the top number is above 180 or the bottom number above 120, wait at least one minute and measure again if you have no concerning symptoms. If it remains that high, contact your healthcare professional immediately.
If a very high reading comes with chest pain, breathlessness, weakness, vision changes, or difficulty speaking, call emergency services immediately—911 in the United States or 112 in the European Union. Do not delay care while investigating the cuff.
A practical check before your next measurement
Write your arm measurement beside the cuff’s stated range in your monitoring log. Then bring both the equipment and your questions to your next visit. A measurement is most useful when you and your healthcare team can trust how it was obtained.
Make your next health step a practical one.
Explore WellNest Central’s educational lifestyle support alongside the care you receive from your healthcare team.
Explore One-on-One Consultation Options


Pingback: Different Blood Pressure in Each Arm: Which to Use?
Pingback: Resistant Hypertension: Why Blood Pressure Stays High